
There is something quietly magical about a tiny glowing town that appears in your home every December. If you are looking for christmas village decor ideas that feel charming rather than cluttered, you are in the right place. A miniature village turns an ordinary mantel, table, or windowsill into a whole little world, complete with lamplit streets, snowy rooftops, and tiny trees. The best part is that there is no single right way to build one. You can start with three little houses or go all out with a train, a church, and a frozen pond. In this guide, you will find fifteen beautiful ways to display a Christmas village, plus budget tips, styling mistakes to avoid, and answers to the questions everyone asks before they set up their first village.
Before you start, take a quick look at where your village will live. A village needs a flat, stable surface, a nearby outlet if it lights up, and a spot where people can actually see it up close. The most-loved villages are the ones you can walk past slowly, lean in, and discover something new in every time. Keep that in mind as you read through the ideas below, and pick the one that fits your space, your style, and the collection you already own.
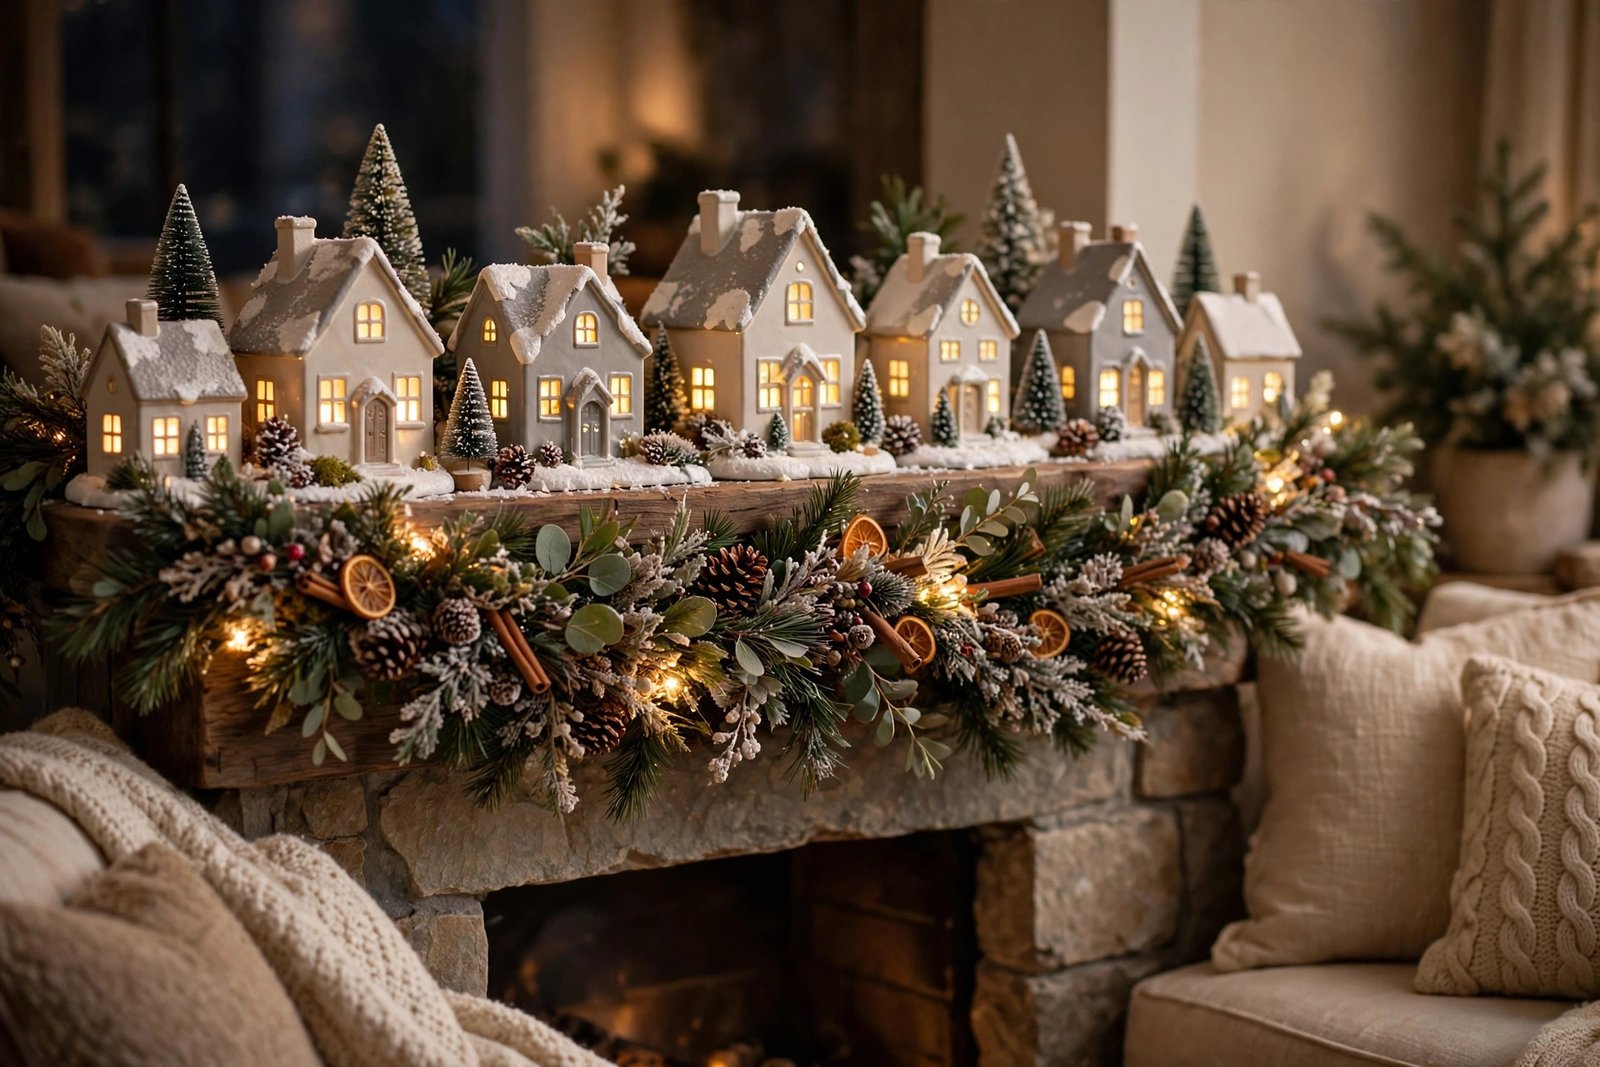
1. A Miniature Village on the Mantel
The mantel is the classic home for a Christmas village, and for good reason. It sits at eye level, it frames the whole display beautifully, and the warm glow of the little houses looks wonderful against a dark fireplace. Start with a snowy white runner or a length of white batting as your base, then arrange your tallest pieces, like the church or the town hall, toward the center or the ends. Fill the gaps with bottle-brush trees, tiny lampposts, and a few small figurines. If your mantel is narrow, choose a single row of houses rather than a deep scene, and let a garland draped along the mantel edge soften the front.
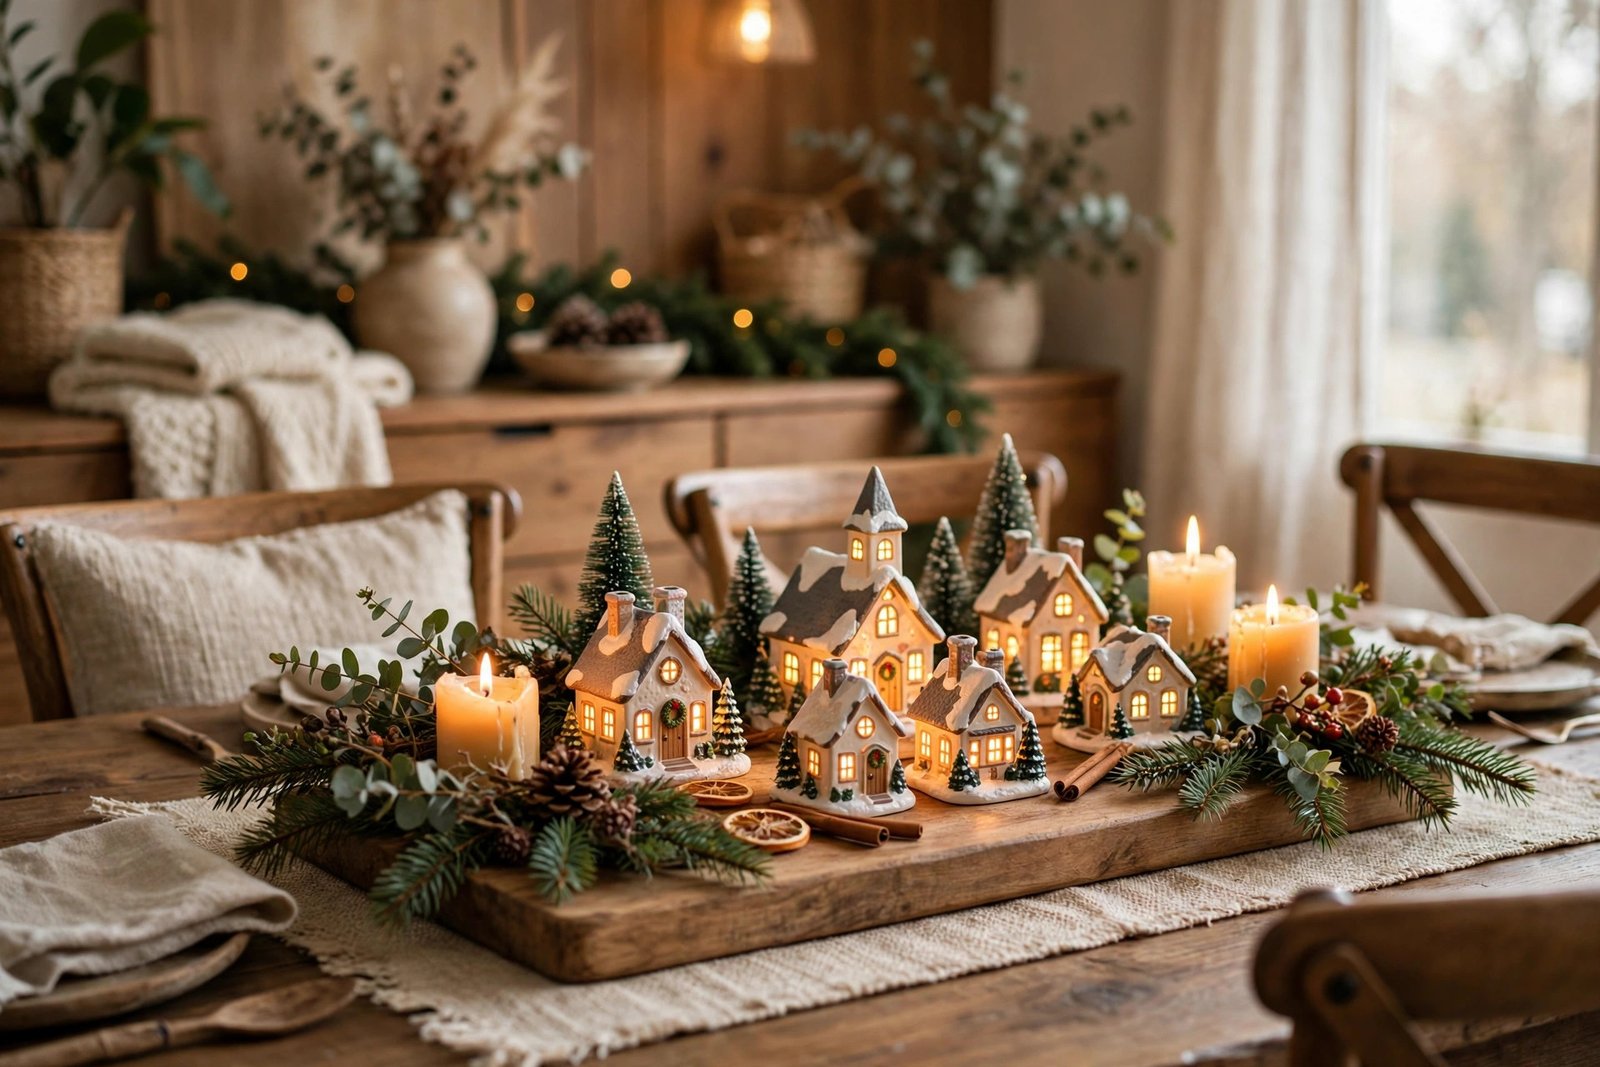
2. A Village as a Table Centerpiece
A village makes a truly unforgettable dining table centerpiece, especially for Christmas dinner. Use a long, low tray or a wooden board as the base so the scene stays contained and easy to lift off the table when dinner is over. Choose smaller houses here, since tall pieces will block the view across the table. Scatter fake snow, a few sprigs of fresh evergreen, and battery-operated tea lights between the buildings for a soft glow that does not need a plug. For more table inspiration, pair your village with the ideas in our guide to Christmas table decor ideas and keep the rest of the table simple so the village stays the star.
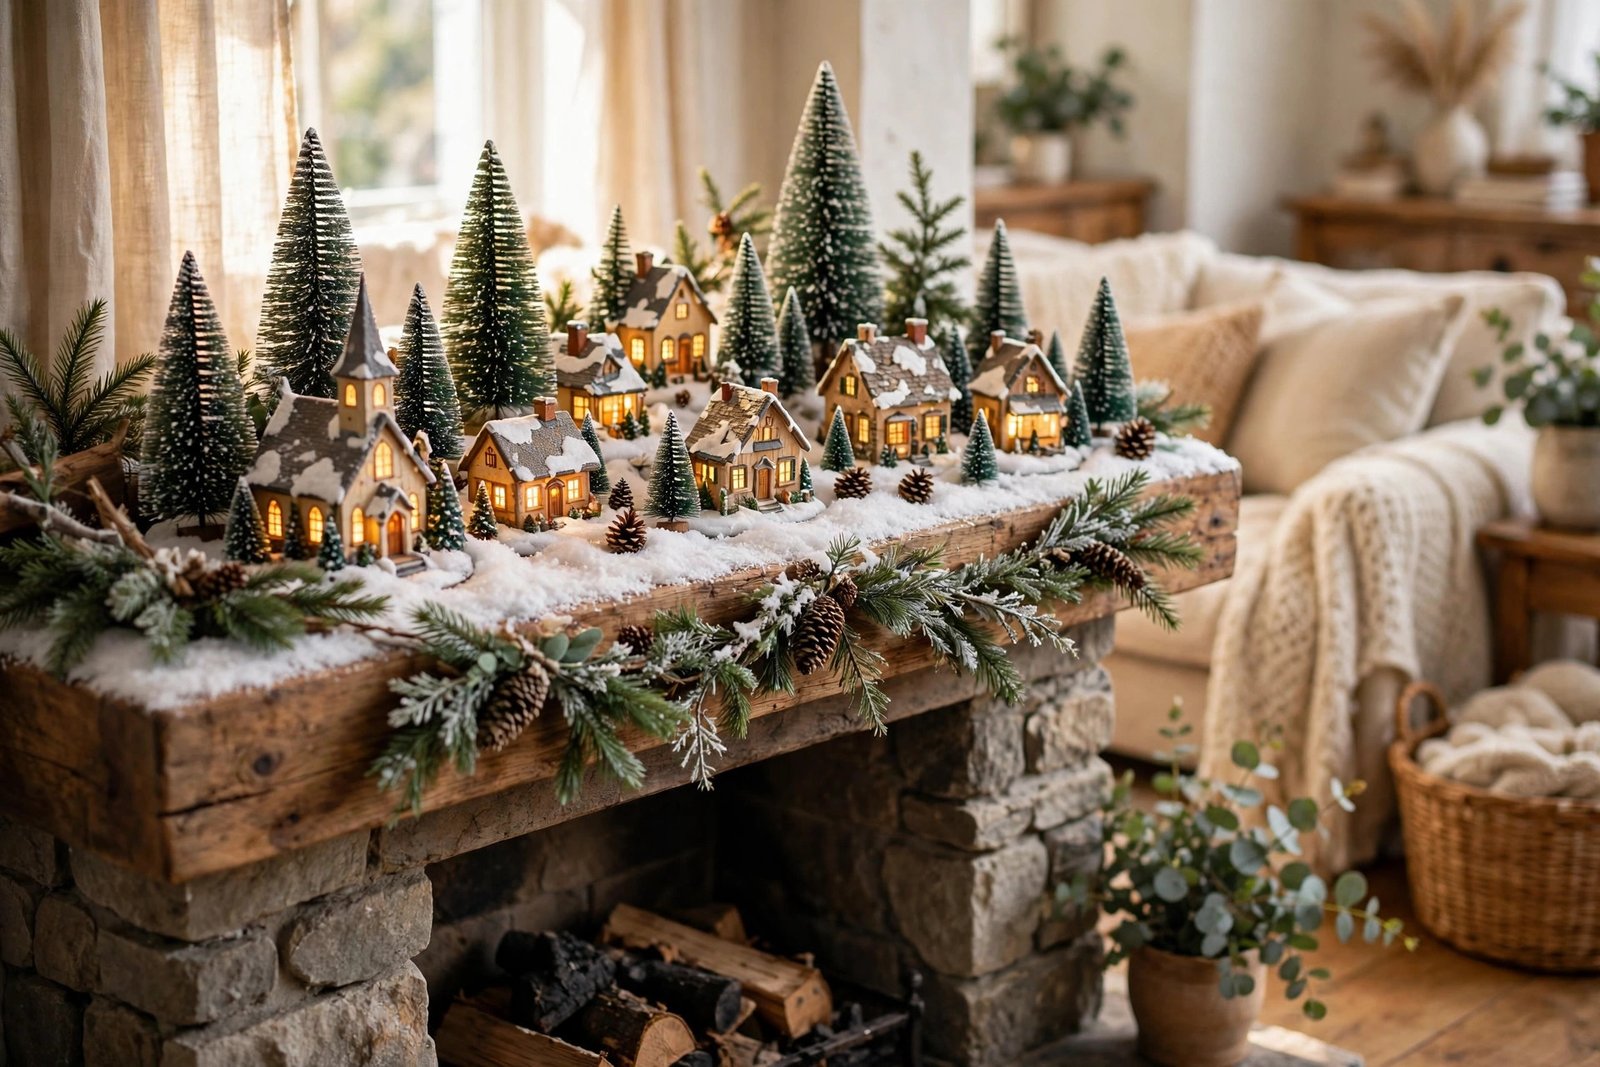
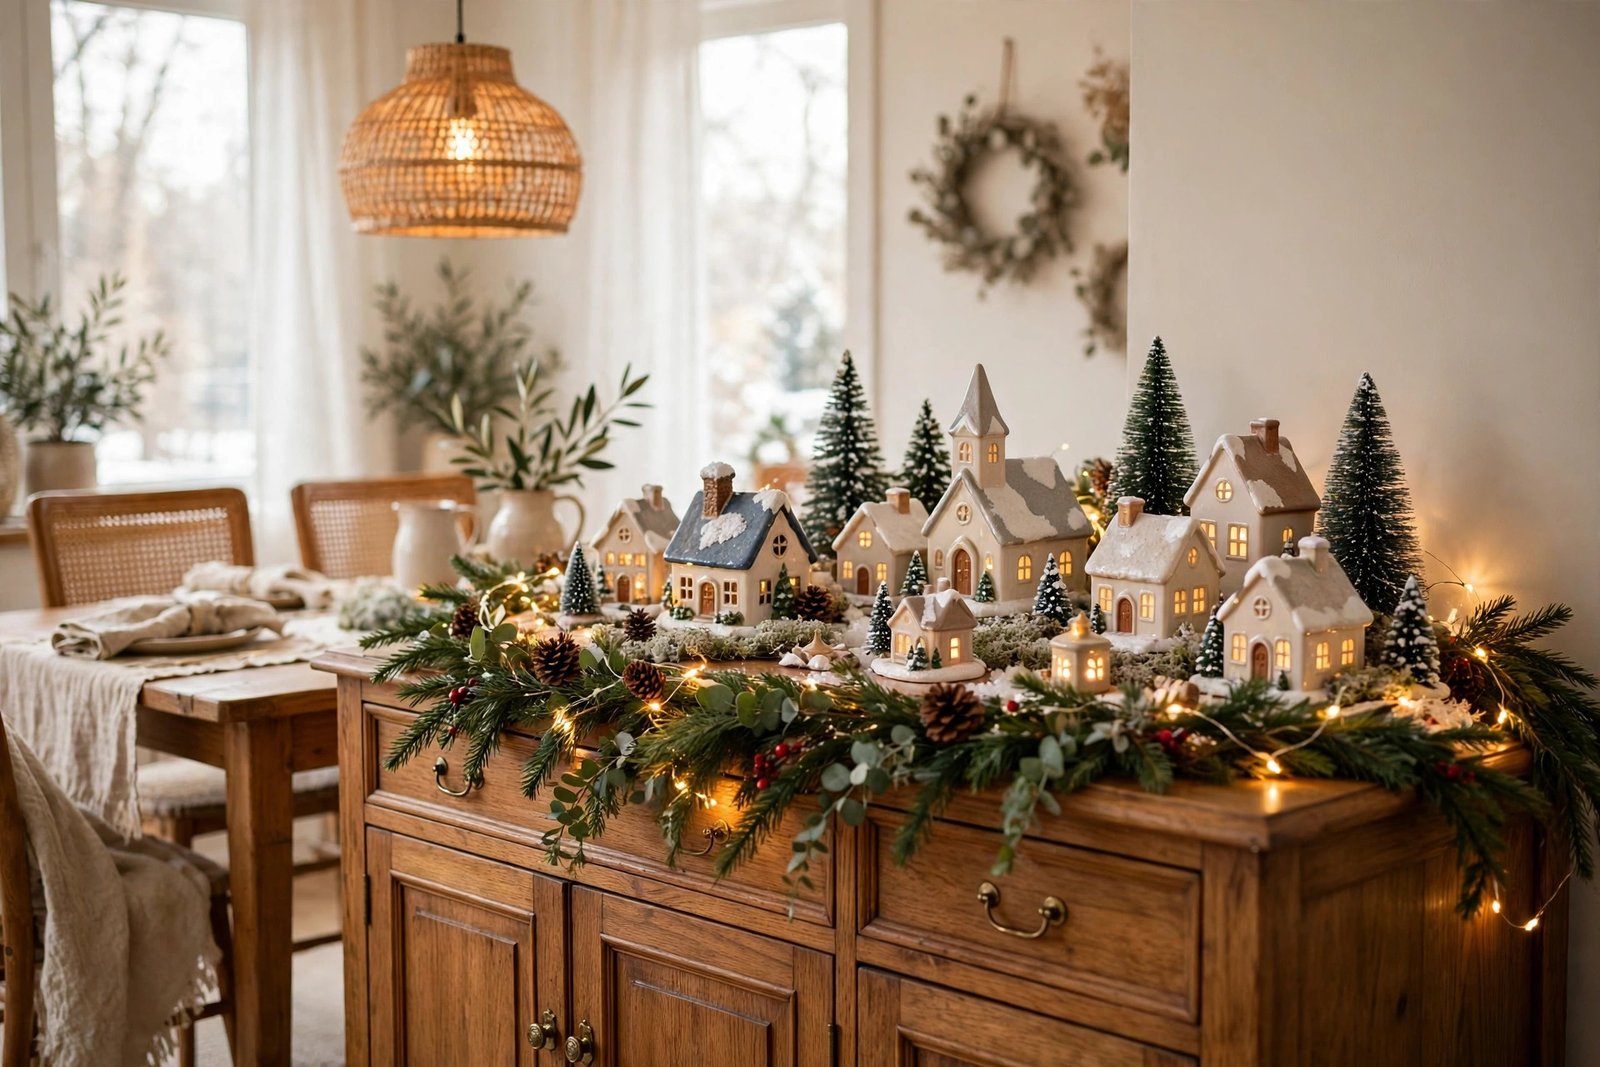
3. A Village on a Sideboard or Console Table
A sideboard or console table is one of the most underrated spots for a Christmas village. It gives you a long, generous surface, it usually sits against a wall where cords are easy to hide, and guests see it the moment they walk into the room. This is the perfect place for a bigger collection, because you can build a proper little street with houses on both sides and a snowy path down the middle. Layer a white runner under the scene, add a mirror or a framed print behind it for depth, and place a small lamp at one end so the village glows even when the house lights are on.
4. A Window-Sill Village
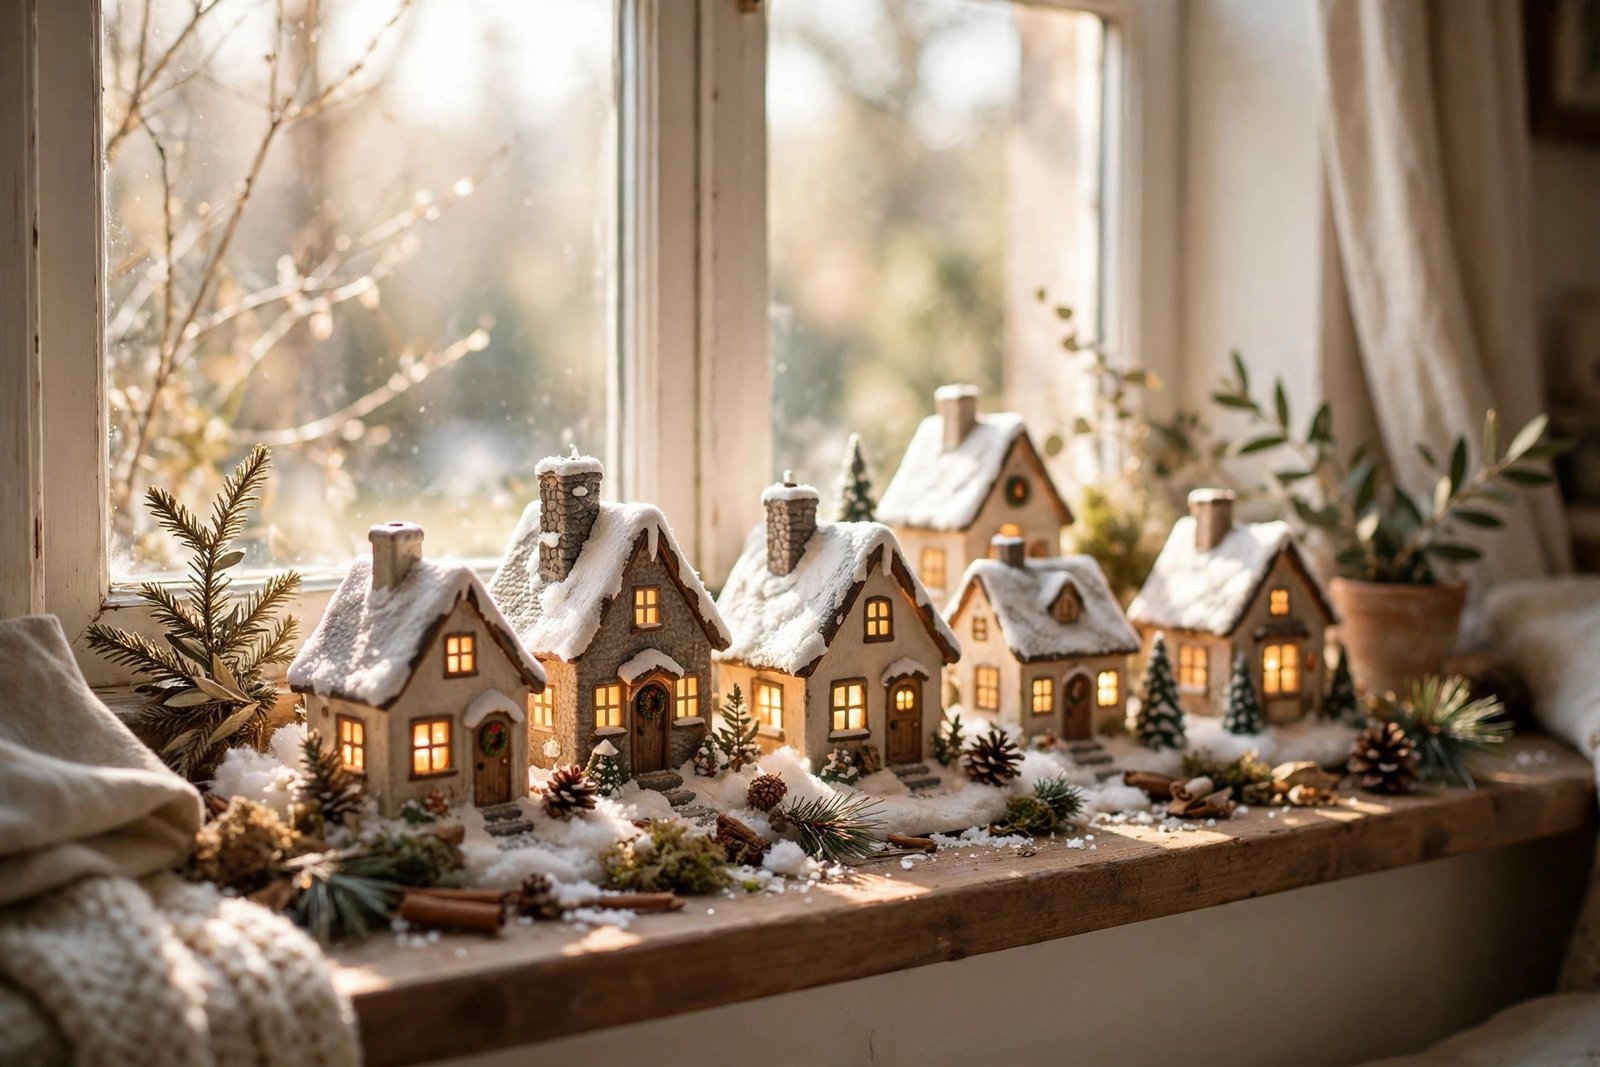
A window-sill village turns an ordinary window into a storybook scene, and it looks just as magical from outside as it does from inside. Line the sill with white felt or cotton batting, then set your houses in a row so their glowing windows face the room. The natural light behind them during the day makes the snow sparkle, and at night the warm light spills out onto the street for passersby to enjoy. This works best with a small set of three to five houses, since most sills are narrow. Add a few tiny trees and a string of fairy lights along the top of the window frame to complete the look.
5. A Village Under the Tree
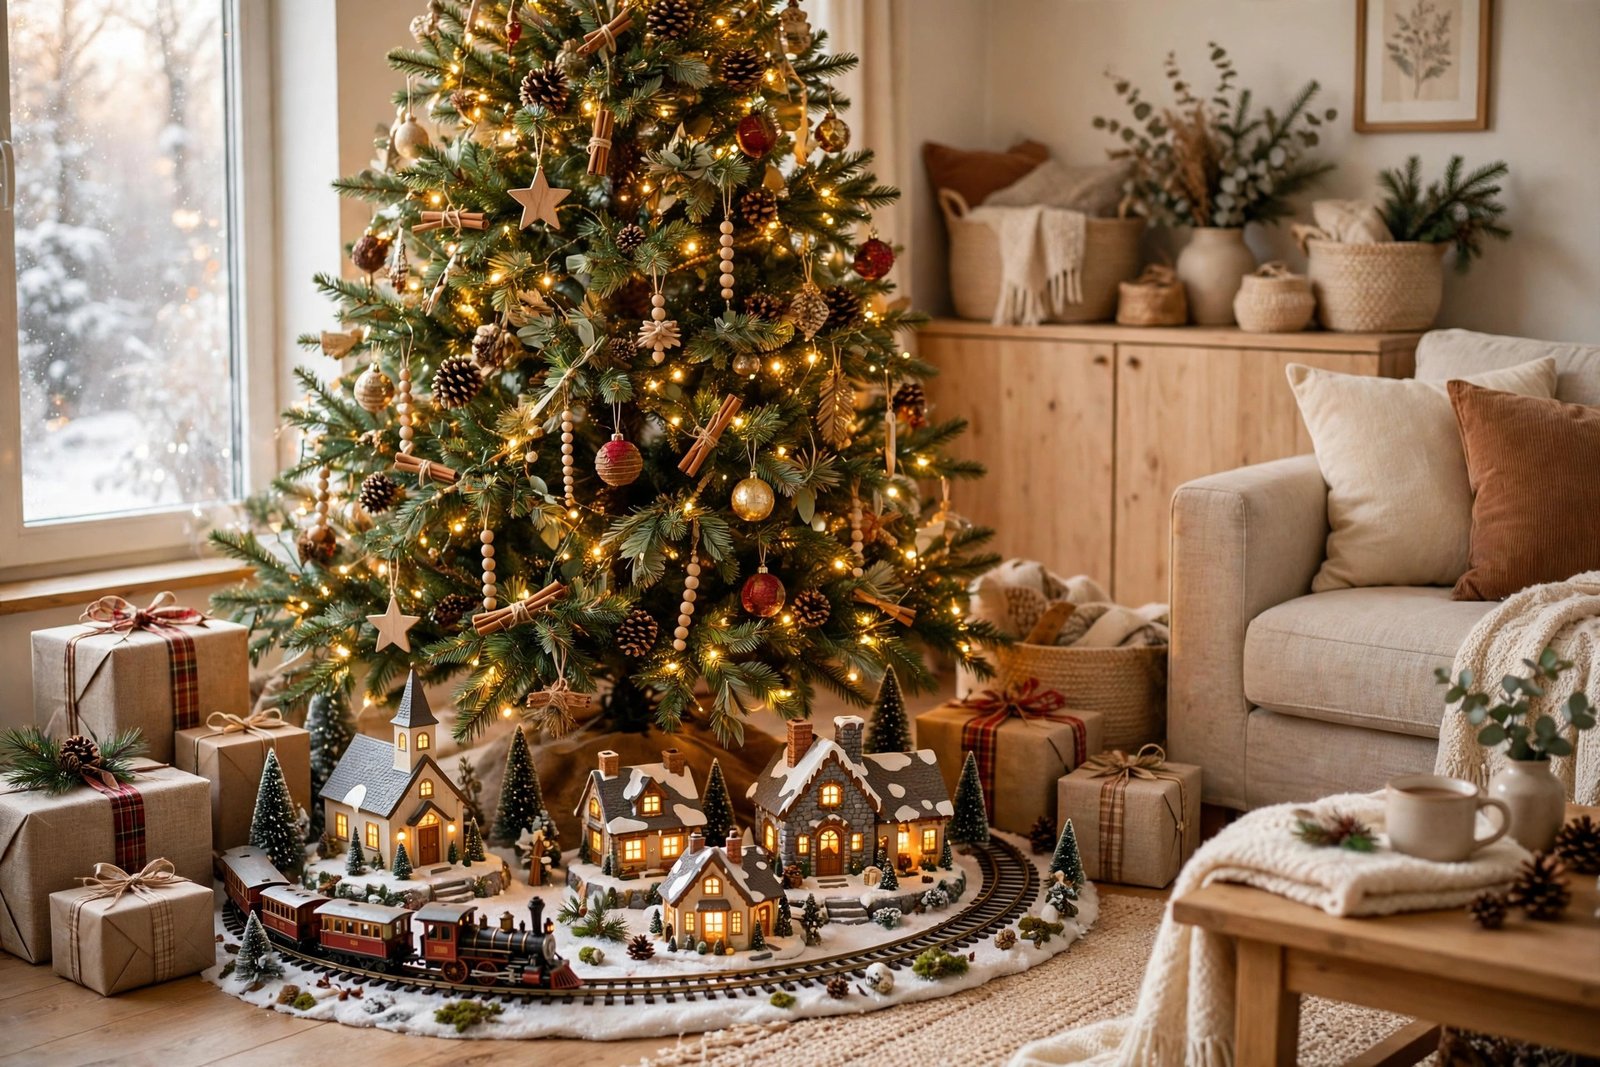
Building your village around the base of the Christmas tree is one of the oldest traditions in Christmas village decorating, and it still feels like pure magic. The tree becomes the village’s forest, and the presents become part of the landscape. Spread a white tree skirt or a layer of batting around the base, then arrange the houses in a loose circle, leaving a gap at the front so the scene is easy to see. Tuck small trees, figurines, and a tiny train track between the buildings. Keep the village low and flat here, since tall pieces can get lost under the branches.
6. Lighted Ceramic Village Houses
Lighted ceramic houses are the heart of most Christmas villages, and choosing the right ones makes all the difference. Look for houses with warm white lights rather than cool blue ones, since warm light feels cozier and more like real lamplight. Mix house styles and heights so the scene looks like a real town that grew over time, not a matching set from a single box. A church, a bakery, a little shop, and a few cottages give the village a story. Place the largest house slightly off-center as your focal point, then build outward with smaller pieces.
7. A DIY Cardboard Christmas Village
A handmade cardboard village is the most personal and budget-friendly way to join the tradition, and it is a lovely craft project for a quiet December afternoon. Cut simple house shapes from sturdy cardboard, paint the walls in soft cream, sage, or dusty blue, and add roofs in deep red or forest green. Cut out tiny windows and glue tissue paper behind them so they glow when you place a battery tea light inside. Add paper trees, cotton snow, and a sprinkle of glitter for sparkle. The charm of a DIY village is in its imperfections, so do not worry about perfect lines.
8. A Village on Tiered Trays
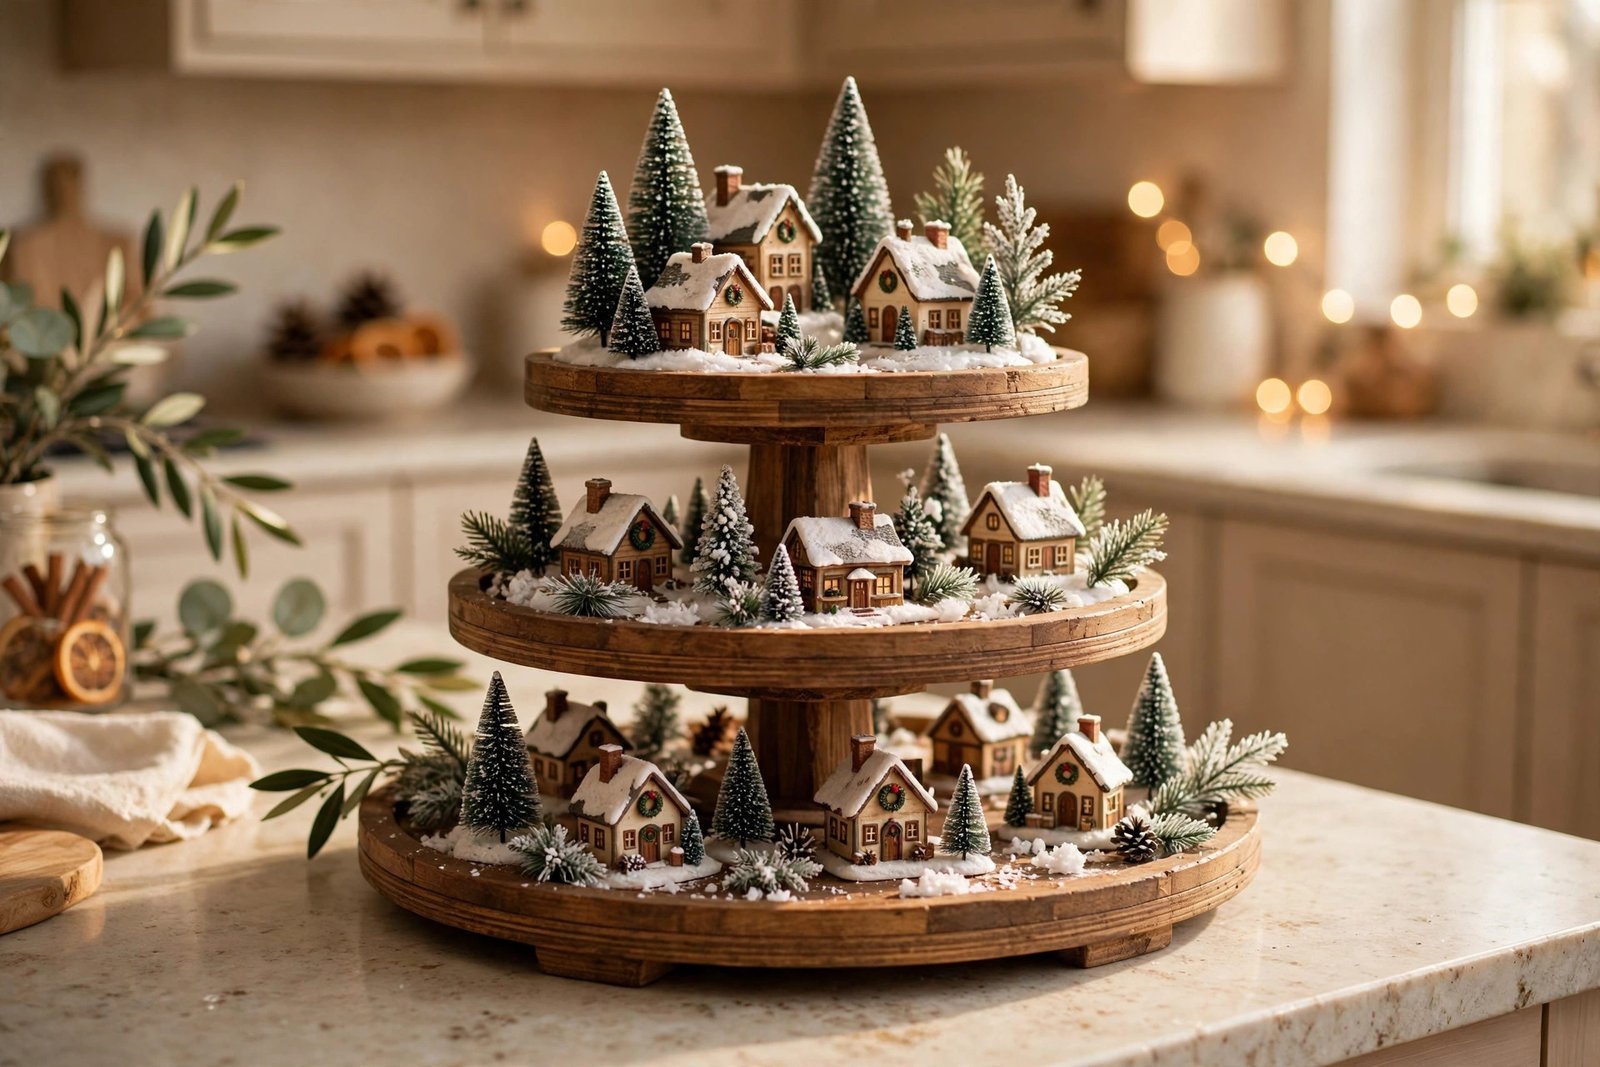
If you are short on space, a tiered tray village is the answer. A two or three-tiered tray turns a small collection into a vertical little town, with a house or two on each level connected by tiny staircases of stacked books or wooden blocks. Use the bottom tier for the largest house and the top tier for the church or a tall tree, so the display reads like a hillside village. Fill the gaps with fake snow, mini pinecones, and bottle-brush trees. Tiered trays work beautifully on kitchen counters, coffee tables, and entryway tables, and they are easy to move if you need the space.
9. A Snowy Village with Fake Snow
Fake snow is what turns a group of little houses into a winter wonderland. The trick is to layer it rather than dump it. Start with a white base, like a runner or a sheet of batting, then add loose fake snow in drifts around the houses, piled a little higher against walls and fences where real snow would gather. Dust the rooftops lightly with a pinch of snow so they look freshly fallen on. A sprinkle of iridescent glitter mixed into the snow catches the light beautifully. Avoid covering the windows or the walkways completely, since those details are what make the village feel alive.
10. A Village with a Train Set
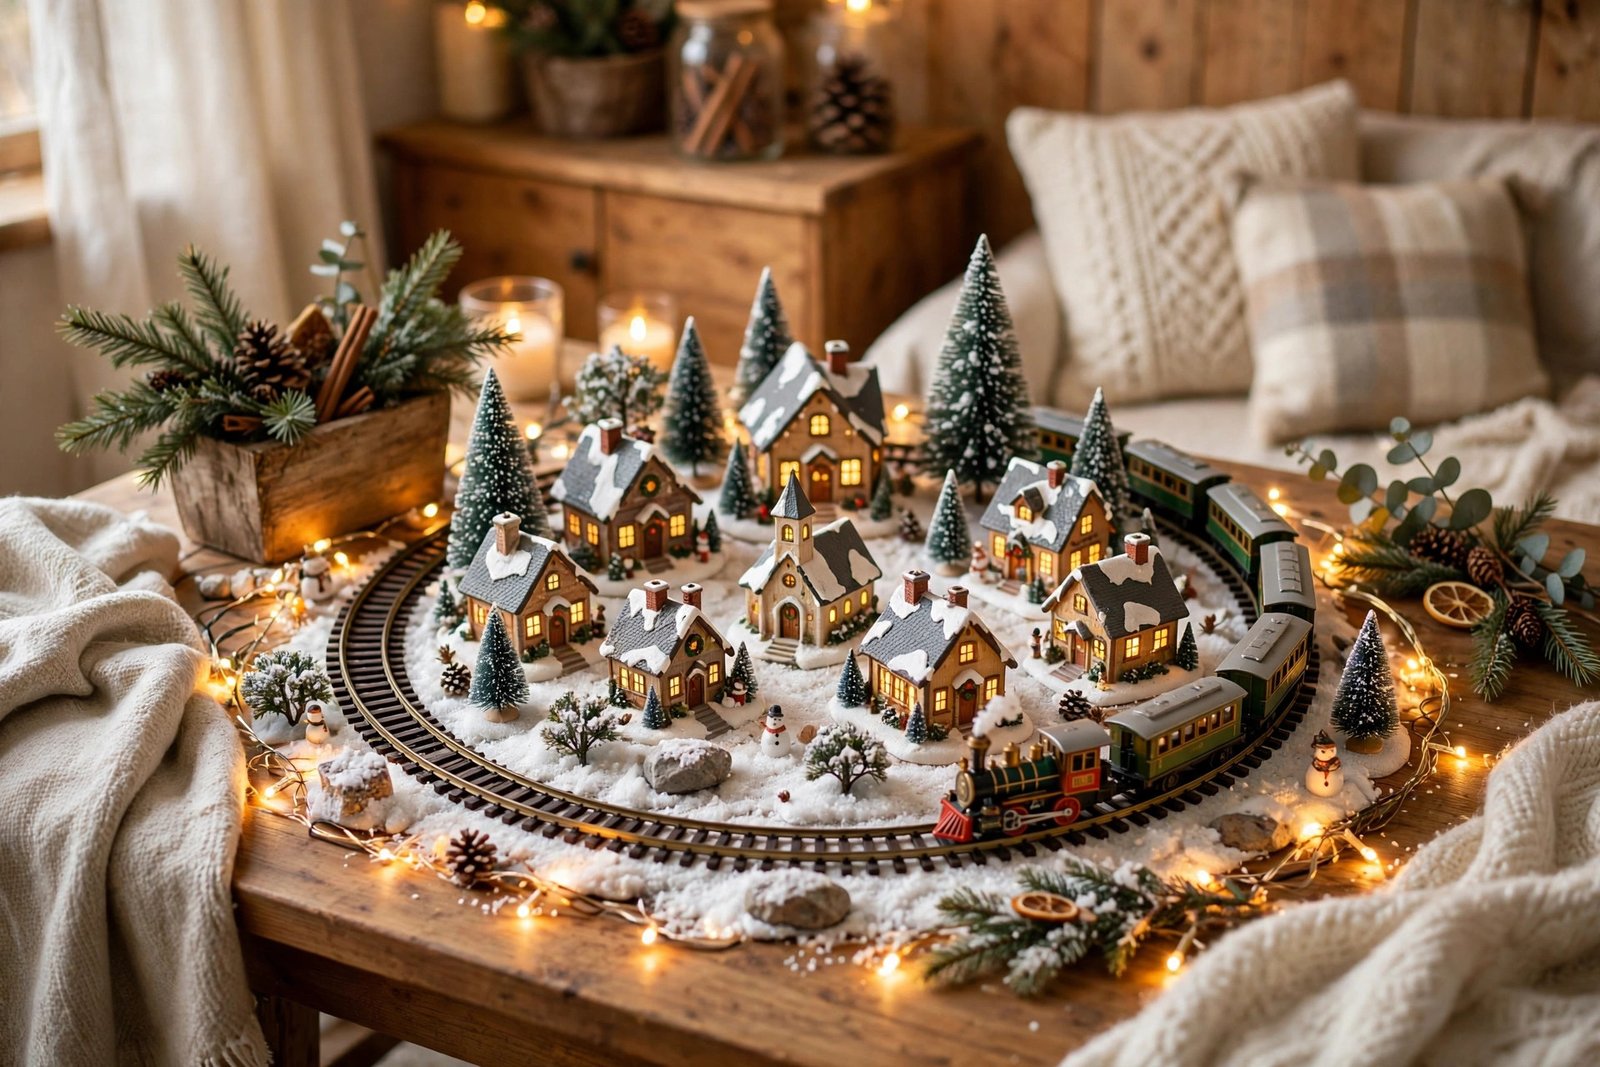
Nothing brings a Christmas village to life quite like a tiny train circling through it. Even a simple battery-operated train on an oval track adds movement, sound, and a sense of story that static displays cannot match. Lay the track first, then build the village around it, placing houses just outside the rails and trees and lampposts along the route. Leave a clear gap where the track passes in front so the train is always visible. A small station house near the track makes the scene feel complete. The train will quickly become the part of the village everyone gathers to watch.
11. A Village on the Coffee Table
The coffee table is a wonderful stage for a Christmas village because it sits right in the middle of everyday life. Everyone in the living room can enjoy it, and it becomes a natural conversation piece when guests visit. Use a large tray with raised edges to contain the snow and keep the display tidy, and choose a low, wide arrangement so the village does not block the television or the view across the room. Battery-operated lights are best here, since a coffee table rarely has an outlet nearby.
12. A Village Shelf Display
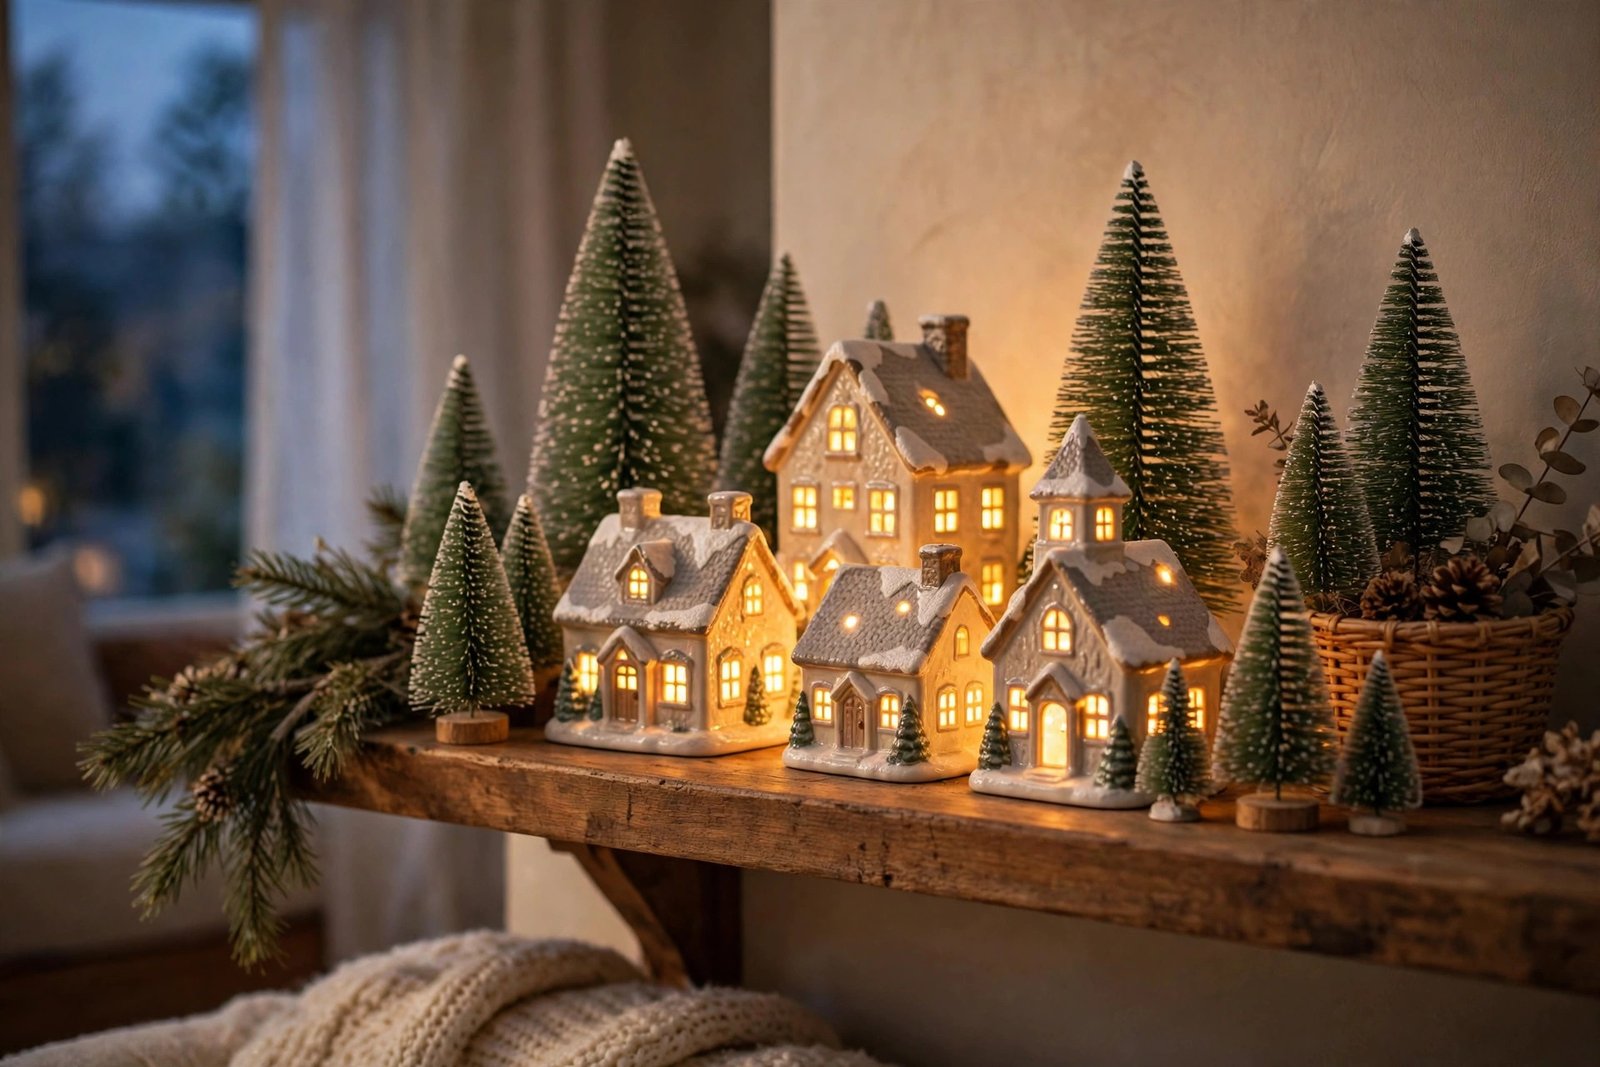
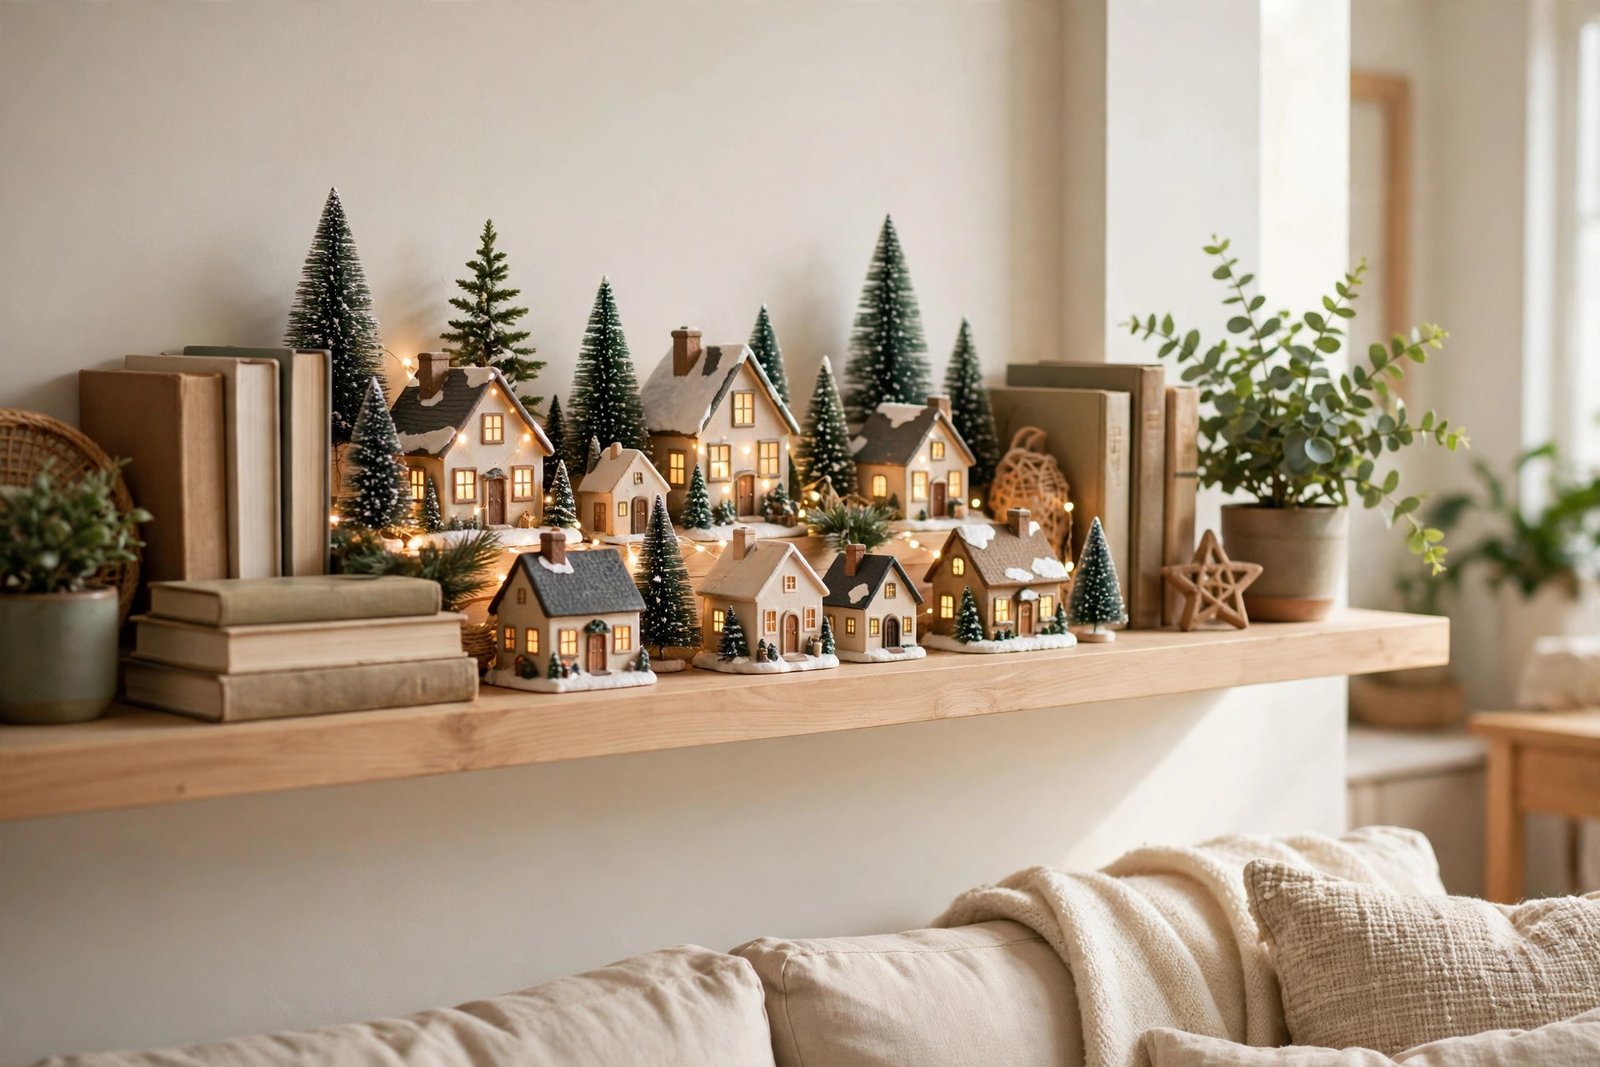
A dedicated shelf turns a Christmas village into a piece of seasonal art. A long floating shelf or a section of a bookcase gives each house its own little stage, and you can style the shelf with garland, fairy lights, and a few ornaments to tie it together. This works especially well if you collect village pieces year after year, because you can rotate the display and show off your favorites. Place the tallest pieces at the back and the smallest figurines at the front, and leave a little breathing room between groups so the eye can rest.
13. A Village in a Lantern or Cloche
A village inside a lantern or a glass cloche feels like a snow globe you can walk up to and admire. Choose a large lantern or a wide cloche, place a single small house inside with a couple of tiny trees and a pinch of fake snow, and add a battery tea light or a short string of fairy lights for glow. The glass magnifies the magic, and the enclosed display keeps dust and curious fingers away. This is a beautiful idea for a single special house, like a church or the first house you ever bought, and it works on mantels, sideboards, and entryway tables alike.
14. A Village with Bottle-Brush Trees
Bottle-brush trees are the finishing touch that makes a Christmas village look like a real winter town. These fuzzy little trees come in every size and color, from classic green to snowy white, blush pink, and deep teal. Mix sizes and colors for a natural, wooded look, and cluster them in groups of three rather than spacing them out evenly. Place taller trees behind the houses and shorter ones along the paths and near the doors, as if they grew there. A light dusting of fake snow on the branches makes them look freshly frosted.

15. Storing and Displaying a Village Year-Round
Many collectors love their village so much that they keep part of it out all year, and with a few small changes it works beautifully. Swap the fake snow for green moss or a linen runner, remove the Christmas-specific figurines, and keep the glowing houses as a cozy night-light display on a shelf. A small village in a bedroom or a reading nook feels like a tiny storybook town all year long. Label the box clearly so next December you can set up in minutes. A well-stored village lasts for decades, and each year you add a house or two, the little town grows with your family.
Try This: Build Your Village in Layers
Here is a simple method that works for any spot in your home. First, lay down your base: a white runner, a tray, or a sheet of batting. Second, place your largest buildings and mark out a path or a street with the gaps between them. Third, add the medium pieces, like shops, trees, and lampposts, filling the middle ground. Fourth, tuck in the tiny details last: figurines, animals, fences, and drifts of snow. Finally, step back, turn on the lights, and adjust anything that looks crowded or hidden. Try this method once and you will never go back to setting houses down at random. It takes about twenty minutes, it works for a three-house starter set and a thirty-piece collection alike, and it leaves you with a village that looks thoughtfully arranged from every angle. Take a photo when you finish so you can recreate your favorite layout next year.
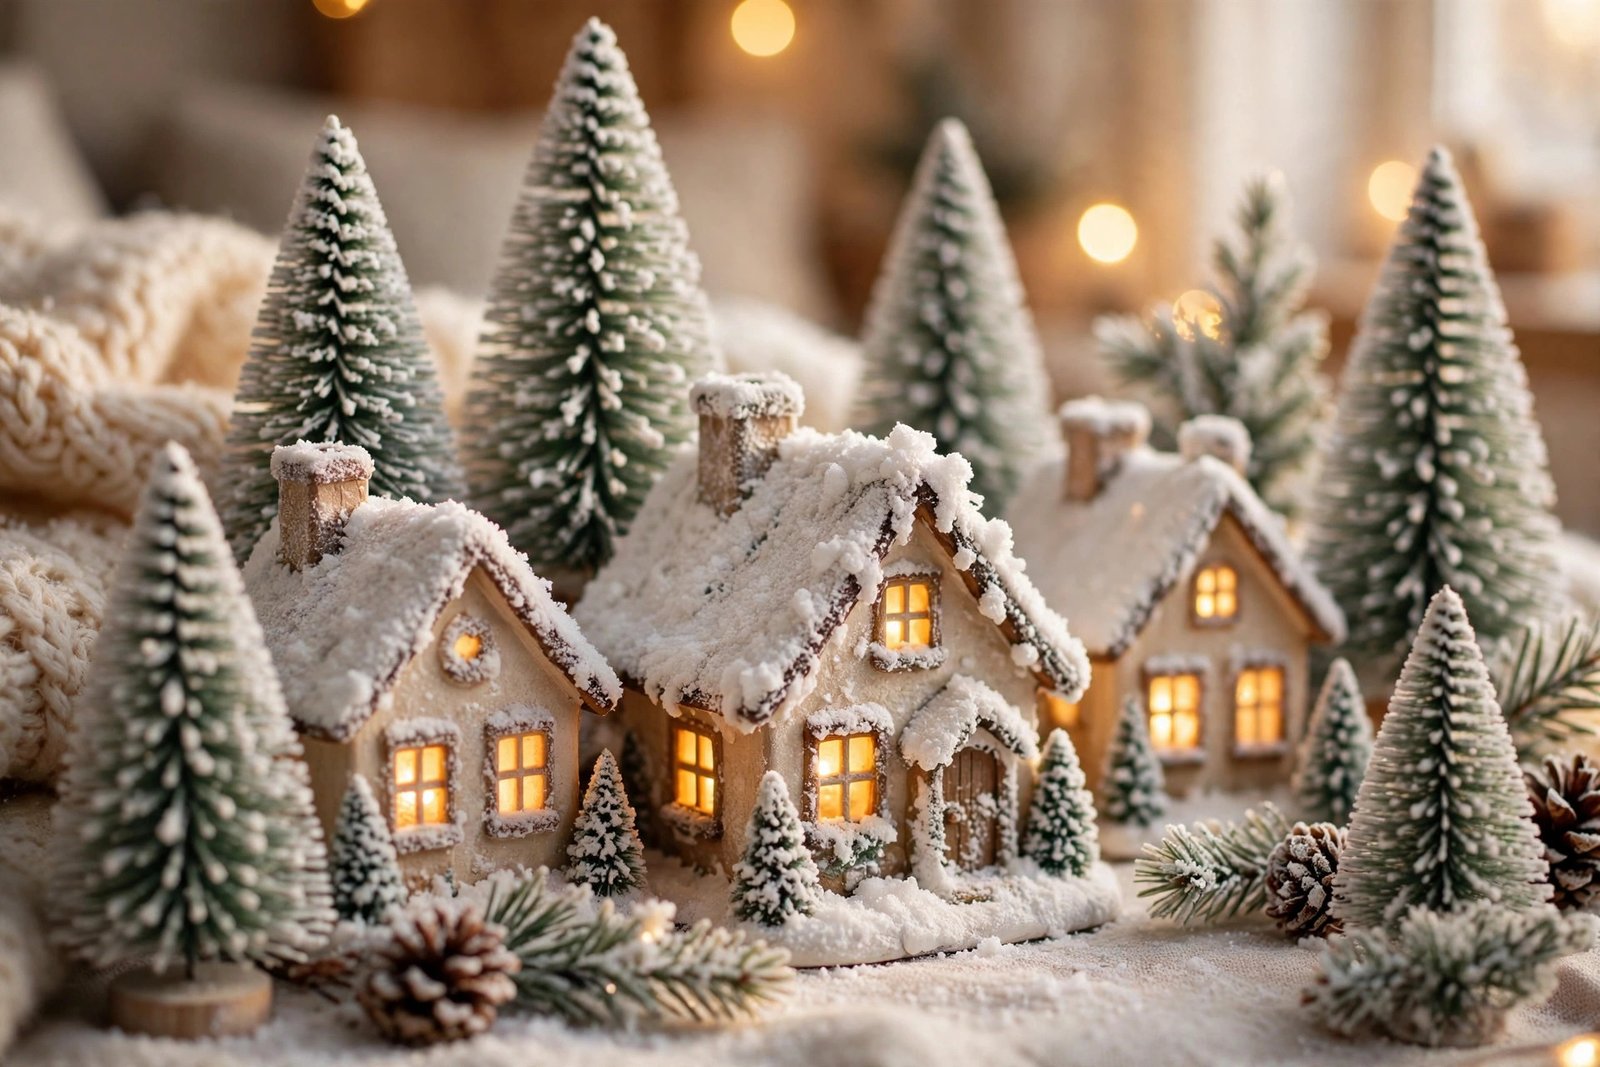
Christmas Village Decor on a Budget
You do not need a big budget to build a beautiful Christmas village. A starter village can cost less than a family takeaway dinner, and a grand display can be built slowly over many years. Here are three realistic budget tiers to help you plan.
Under $25: The Starter Village. Pick up a small set of three cardboard or resin houses, a bag of fake snow, and a few bottle-brush trees from a dollar store or a craft shop. Add battery tea lights you already own, and build your first scene on a tray or a windowsill. This is the perfect way to test whether you love the tradition before spending more.
$25 to $100: The Growing Town. Add two or three lighted ceramic houses, a string of warm fairy lights, a handful of figurines, and a proper base like a wooden board or a white runner. Shop after-Christmas sales, thrift stores, and online marketplaces, where ceramic houses often sell for a fraction of their original price.
Over $100: The Collector’s Village. Invest in quality ceramic pieces, a train set, a lighted church, and a dedicated display shelf or table. Buy one special piece each year rather than everything at once. Over time, your village becomes a collection with memories attached to every house, and that is worth far more than any single shopping trip.
Common Mistakes to Avoid
Overcrowding the scene. It is tempting to display every piece you own, but a crowded village looks messy and hides the details. Leave breathing room between houses and let a few empty snowy patches rest the eye.
Mixing too many scales. A giant house next to a tiny church breaks the illusion. Try to keep your buildings roughly the same scale, and place any odd-sized pieces in their own small grouping.
Using cool white lights. Cool blue-white light makes a village look cold and flat. Warm white lights give the windows a candlelit glow that feels like a real town at dusk.
Forgetting the cords. Nothing spoils a magical scene faster than a tangle of black cords snaking across the mantel. Plan your outlet access first, hide cords behind houses and under the base, and switch to battery lights where plugs are far away.
Skipping a base. Houses set directly on a dark wood surface look scattered and unfinished. A simple white runner or tray pulls the whole scene together and makes the snow and lights pop. For more seasonal styling ideas, see our guide to Christmas window decor ideas and our Christmas lights ideas for getting the glow just right.
Frequently Asked Questions
Where is the best place to put a Christmas village?
The mantel is the most popular spot because it sits at eye level and frames the display beautifully. A sideboard, a console table, a windowsill, or the base of the Christmas tree all work wonderfully too. Choose a flat, stable surface near an outlet, where people can walk past slowly and enjoy the details up close.
How do you make a Christmas village look snowy?
Start with a white base such as a runner or cotton batting, then add loose fake snow in drifts around the houses and a light dusting on the rooftops. Mix a little iridescent glitter into the snow for sparkle. Keep the windows and paths mostly clear so the village still looks lived in rather than buried.
What do you put under a Christmas village?
A white table runner, a sheet of cotton batting, a wooden tray, or a piece of white felt all work well. The base protects your furniture, contains the fake snow, and gives the scene a finished look. For a dining table, use a tray so the whole village can be lifted away easily.
How do you light a Christmas village without cords showing?
Plan the outlet first and run cords behind the houses and under the base layer. Battery-operated houses and tea lights are the easiest option for tables and shelves far from a plug. A power strip hidden behind the display keeps everything tidy and lets you switch the whole village on with one click.
How many houses do you need for a Christmas village?
Three houses are enough to start a charming little village, and most displays look best with five to ten buildings. A church or a shop adds a focal point, while trees, lampposts, and figurines fill the gaps. Start small and add one or two pieces each year.
How do you store a Christmas village after the holidays?
Wrap each house individually in tissue paper or bubble wrap, place figurines in small labeled bags, and store everything in a sturdy box with cords coiled neatly. Keep the box in a dry place indoors. Label it clearly so you can find it easily next December, and your village will last for decades.
There is no wrong way to build a Christmas village, only your way. Whether you start with three little houses on a windowsill or a glowing town that fills the whole mantel, the joy is in the building: choosing each house, placing each tree, and switching on the lights for the first time. The tradition of the miniature Christmas village, sometimes called a putz, goes back centuries, as you can read in the history of the Christmas village on Wikipedia. Start small, add a piece or two every year, and let your little town grow with your family. One December evening, you will switch on the lights, step back, and see a whole magical world glowing in your living room.